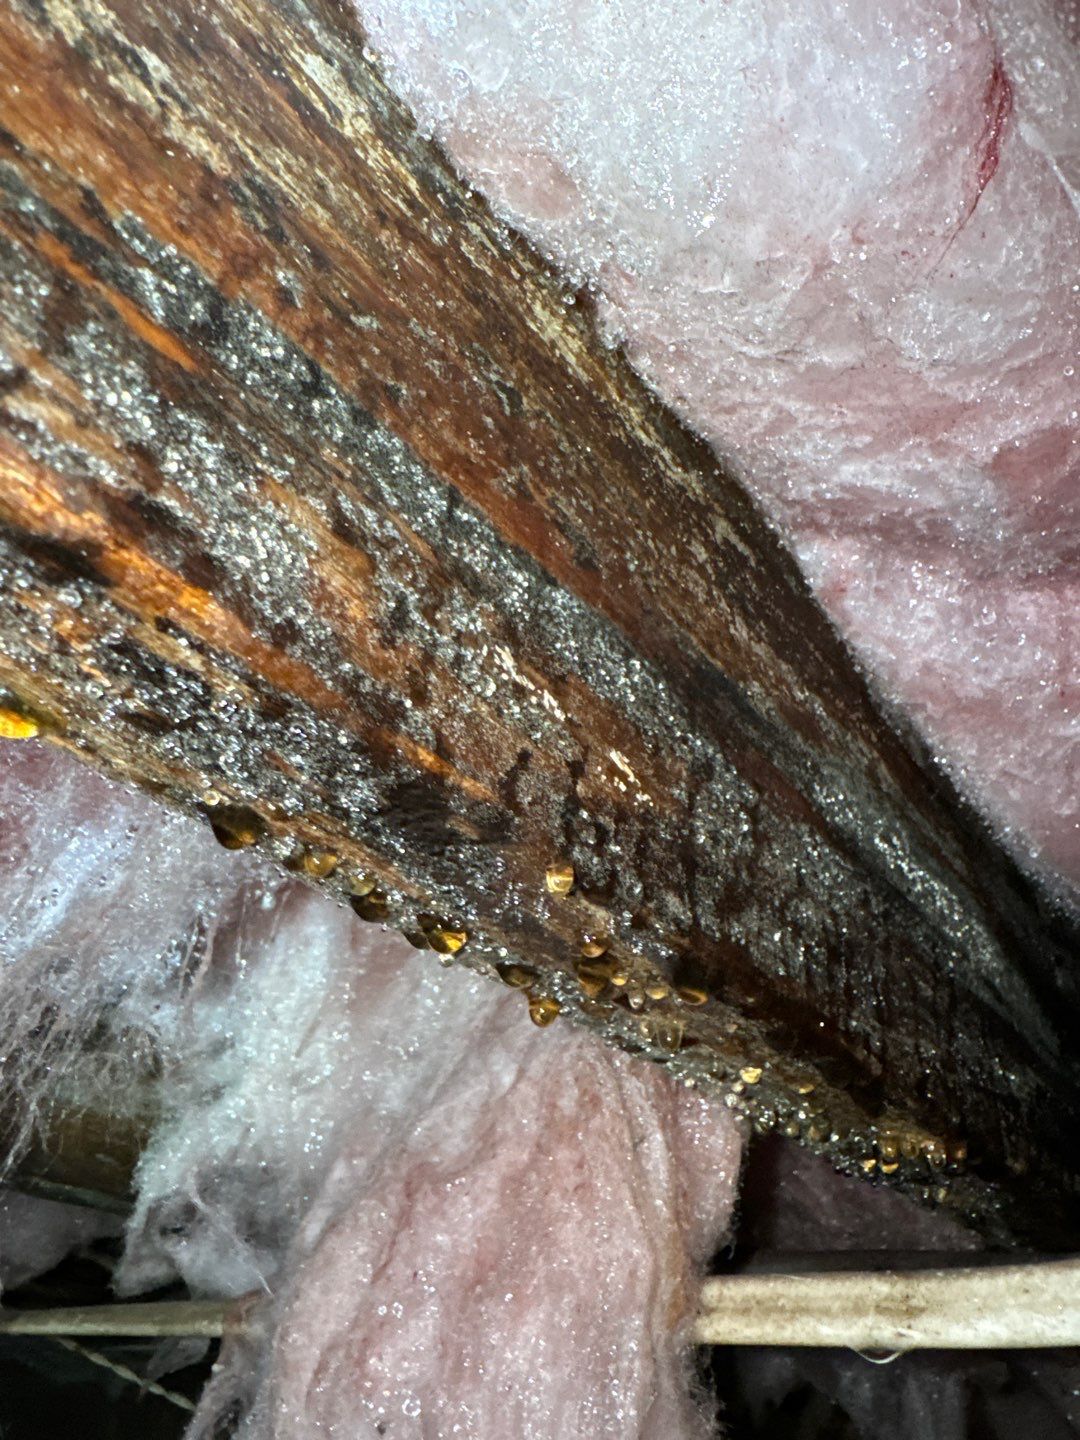
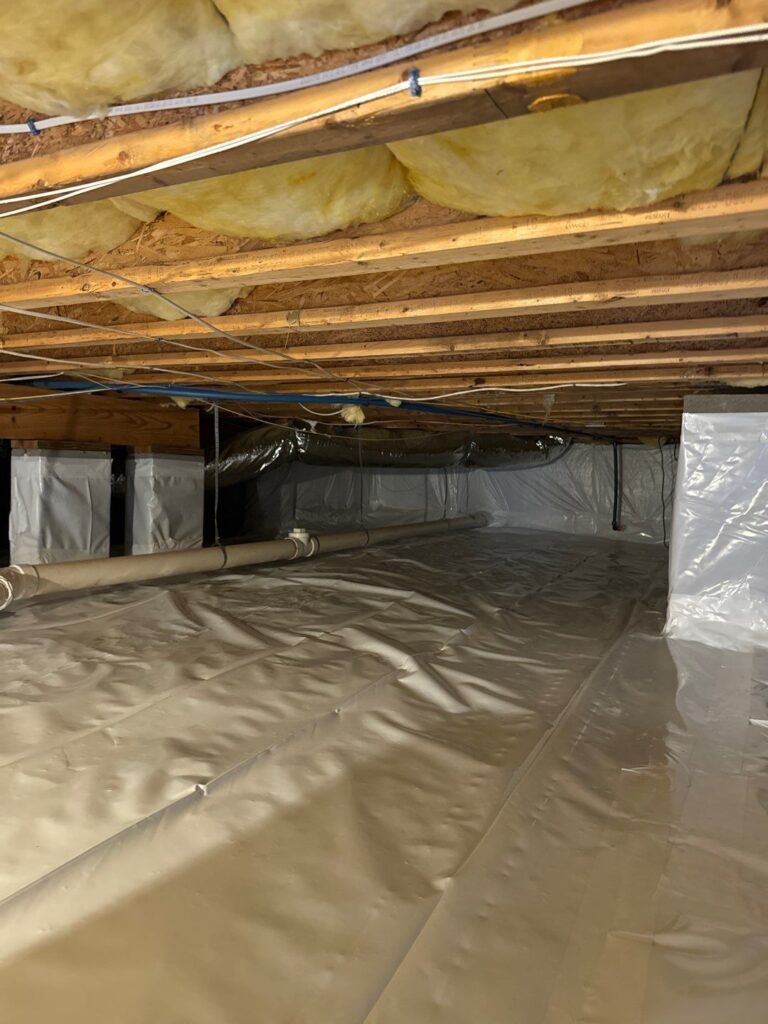
This is the result of our team of professionals at work. Your crawlspace should look exactly like this—completely dry, with a thick vapor barrier securely installed, a dehumidifier effectively managing humidity, and everything neatly organized. This is the standard you can expect from us.
Before exploring the causes of structural damage, it’s important to understand the critical role your crawlspace plays in maintaining the stability of your home. The crawlspace serves as the foundation’s protective buffer, housing essential components such as support beams, joists, plumbing, electrical wiring, and HVAC ducts. It also acts as a barrier between the ground and your living spaces, helping to regulate moisture and temperature.
When the crawlspace is in good condition, it provides solid support for your home’s structure. However, when problems arise—such as excess moisture, poor drainage, or pest infestations—the integrity of the crawlspace can be compromised. This can lead to a cascade of issues that affect not only the crawlspace itself but also the rest of your home.

Crawlspace moisture is more than just a nuisance—it’s a serious threat that can lead to a variety of long-term problems if not properly managed. Some of the most significant risks associated with crawlspace moisture include:
Given these risks, it’s essential to address crawlspace moisture issues promptly and effectively. Here’s how Walsh Crawlspace and Structural Repair tackles moisture problems with a comprehensive, step-by-step process.
At Walsh Crawlspace and Structural Repair, we believe that every moisture problem requires a tailored solution. Our process is designed to identify the root cause of the issue, eliminate moisture sources, and implement long-term solutions that protect your home from future problems. Here’s a detailed look at our approach:
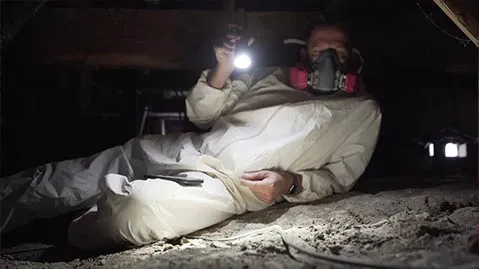
The first step in solving any moisture problem is understanding where the moisture is coming from and how it’s affecting your crawlspace. Our process begins with a comprehensive inspection conducted by our experienced team. During this inspection, we assess:
This thorough inspection allows us to pinpoint the root cause of the moisture problem and develop a customized plan to address it effectively.
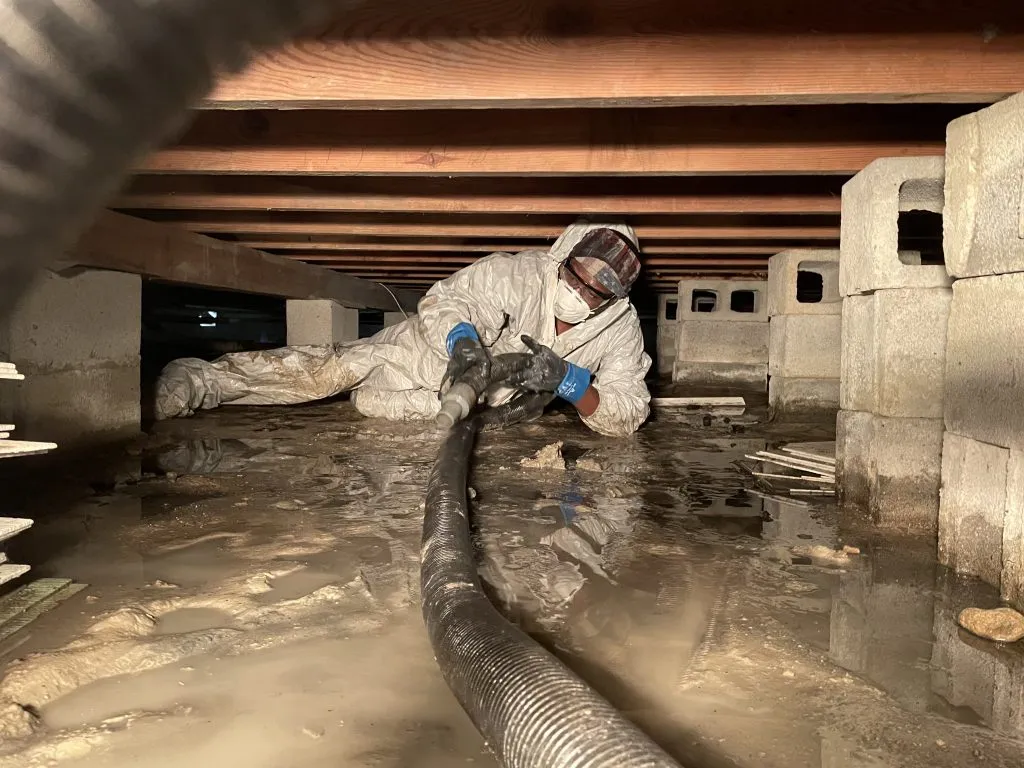
Once we’ve identified the source of the moisture, the next step is to perform a full cleanout of the crawlspace. This is a critical step that ensures a clean and stable environment for the repairs and moisture control measures that follow. Our cleanout process includes:
By starting with a clean slate, we ensure that the moisture control solutions we install are effective and long-lasting.
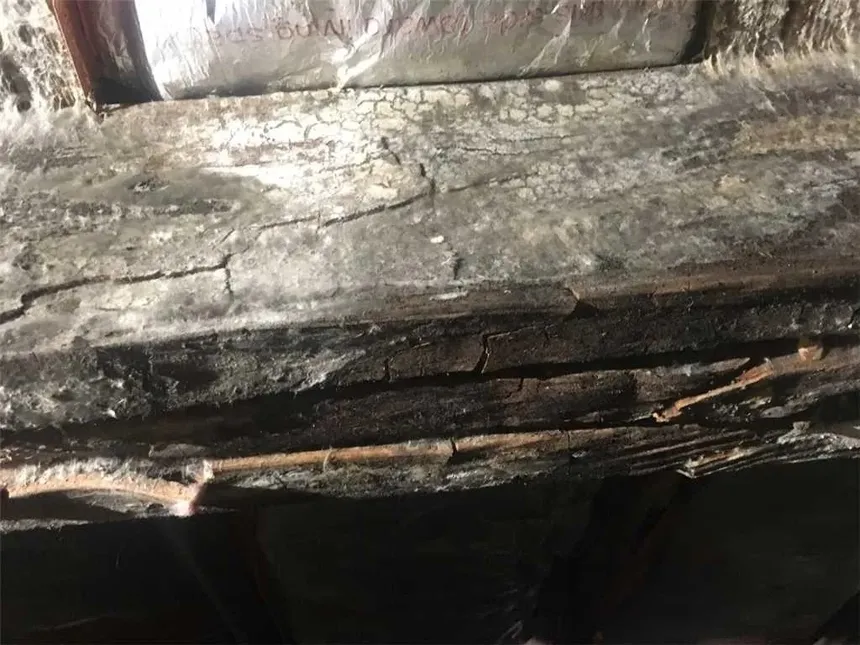
After the cleanout, we focus on repairing any underlying issues that contribute to the moisture problem. Depending on the specific conditions of your crawlspace, this step may include:
By addressing these underlying issues, we create a solid foundation for the next steps in the moisture control process.
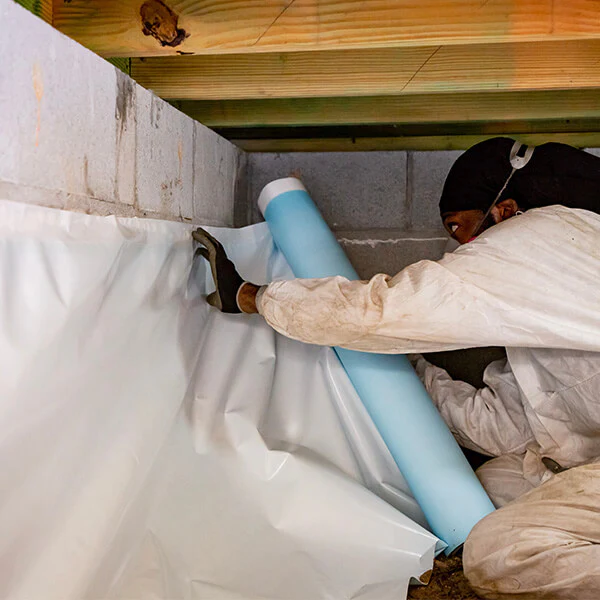
With the crawlspace cleaned out and repairs completed, we move on to the installation of moisture control solutions. Depending on the severity of the moisture problem and the specific needs of your home, we may recommend one of the following options:
Vapor Barrier Installation:
For crawlspaces with moderate moisture issues, a vapor barrier is often the most effective solution. A vapor barrier is a thick, durable polyethylene sheet that covers the crawlspace floor and extends several inches up the walls. This barrier prevents moisture from the ground from entering the crawlspace, reducing humidity levels and protecting against wood rot and mold growth.
Crawlspace Encapsulation:
In cases where the moisture problem is more severe, full crawlspace encapsulation may be necessary. Encapsulation involves sealing the entire crawlspace—floor, walls, and sometimes the ceiling—with a continuous vapor barrier. This process creates a controlled environment that is completely isolated from external moisture sources. Encapsulation not only protects against moisture but also improves energy efficiency and indoor air quality by preventing the movement of air between the crawlspace and living spaces.
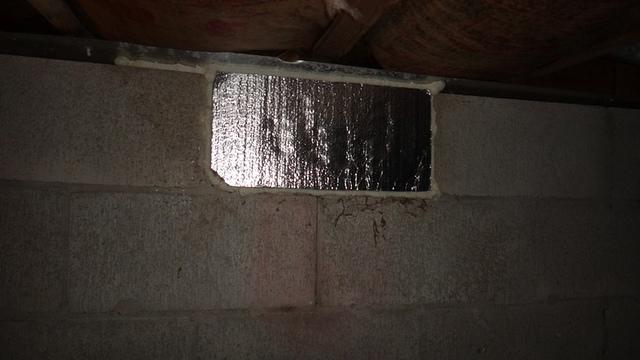
After the vapor barrier or encapsulation is complete, we take additional steps to seal off any remaining entry points for moisture:
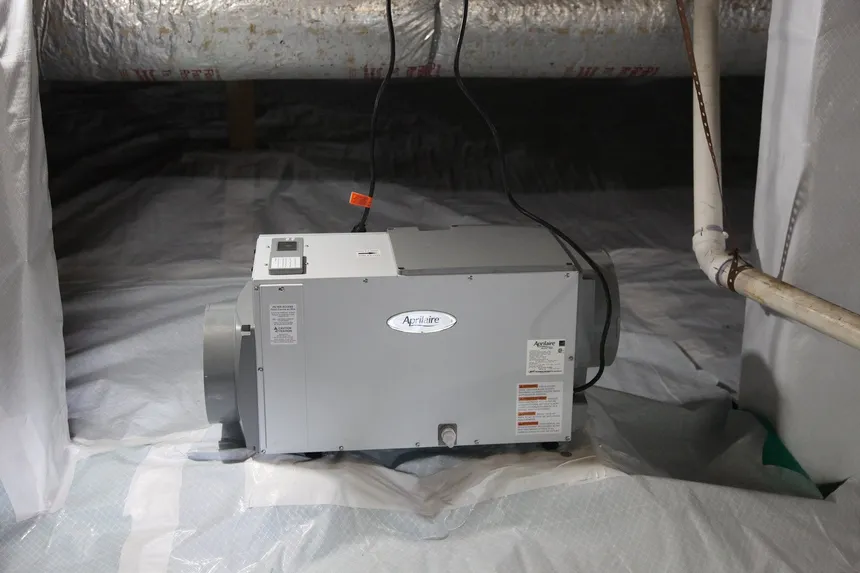
For many crawlspaces, controlling humidity is key to maintaining a dry and healthy environment. In most cases, we recommend installing a dehumidifier as part of the moisture control system. A dehumidifier works to:
Not all crawlspaces require a dehumidifier, but for those that do, it’s a critical component of a comprehensive moisture control strategy.
While the steps above often resolve most moisture problems, there are cases where additional measures may be necessary to fully address underlying issues. These may include:
Microbial Scrub or Mold Remediation:
If mold is discovered during the inspection or cleanout, a more thorough remediation process may be required. Walsh offers microbial scrub services and full mold remediation to remove mold from the crawlspace and prevent its return. This process involves cleaning all affected surfaces, treating the area with antimicrobial agents, and taking steps to prevent future mold growth.
Perimeter French Drain and Sump Pump Installation:
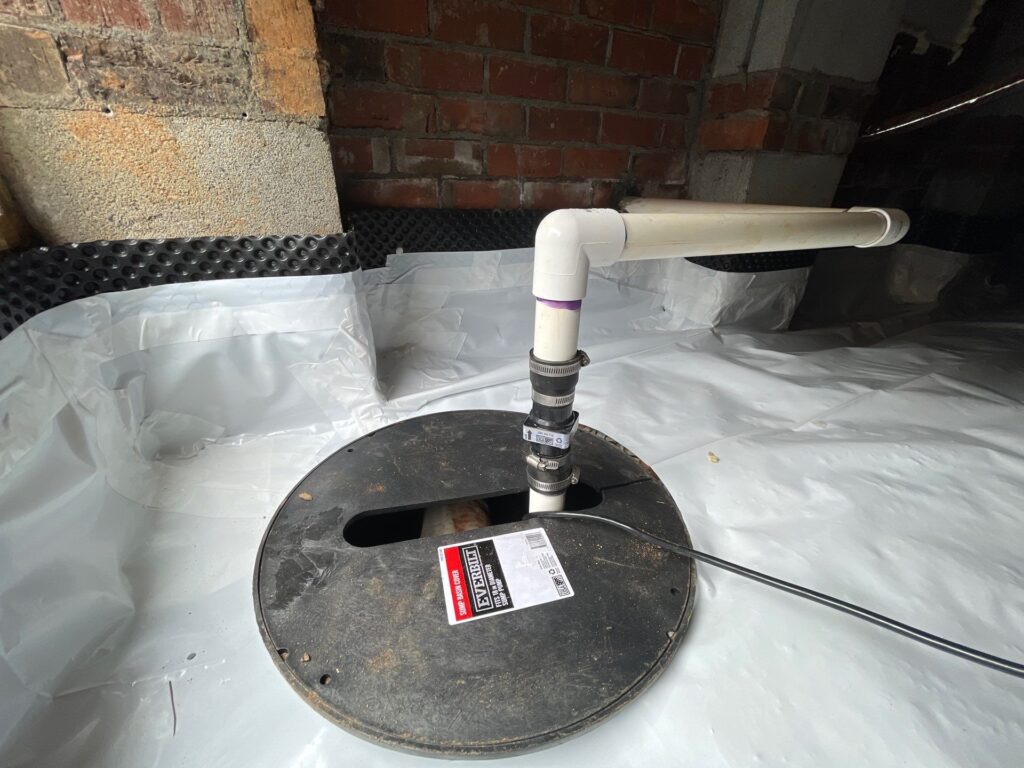
In cases where drainage is a significant concern, we may recommend the installation of a perimeter French drain leading to a sump pump. The French drain collects water from around the foundation and channels it into the sump pump basin. The sump pump then removes the water from the crawlspace and discharges it away from the home. This system is essential for homes with high groundwater levels or poor surface drainage.
By following this comprehensive process, Walsh Crawlspace and Structural Repair ensures that every moisture issue is fully addressed, and your home is protected from future problems. The benefits of our approach include:
Crawlspace moisture is a serious issue that requires a thorough and expert approach to resolve. At Walsh Crawlspace and Structural Repair, we specialize in identifying the root causes of moisture problems and implementing customized solutions that protect your home from the ground up. Our detailed process—from inspection and cleanout to encapsulation, sealing, and dehumidification—ensures that your crawlspace remains dry, stable, and healthy for years to come.
If you’re dealing with moisture issues in your crawlspace, don’t wait until the damage becomes severe. Contact Walsh Crawlspace and Structural Repair today to schedule an inspection and take the first step toward a moisture-free crawlspace and a healthier home.